Difference between revisions of "User:Yoshida Keiji/User guide/Ice sheet for Lost tribe"
m |
m |
||
| Line 168: | Line 168: | ||
| + | |||
| + | == Attacking other Factions == | ||
| + | |||
| + | Viable only if within reasonable reach. [[Transport pod]]s can make it possible but too much work for little benefit. If the desire is high, multiple settlements will be needed. | ||
| + | |||
| + | |||
| + | <gallery widths="400px" heights="400px" class="center" mode="nolines"> | ||
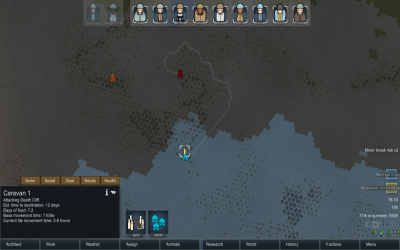
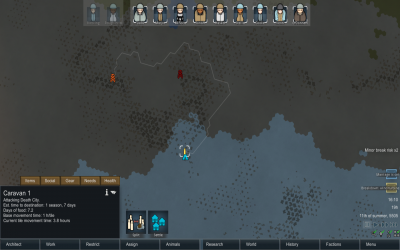
| + | File:Ice sheet for Lost tribe attacking pirates 12 days.png|'''Closest ETA 12 days (24+ days roundtrip)''' | ||
| + | File:Ice sheet for Lost tribe attacking pirates 1 season and 7 days.png|'''Second closets ETA 1 season & 7 days (almost a year roundtrip)''' | ||
| + | </gallery> | ||
| | | | ||
|} | |} | ||
Revision as of 07:41, 20 July 2017
|
 This guide was written on a timeline fashion so that your story can go parallel with the content of this page. This guide was written on a timeline fashion so that your story can go parallel with the content of this page. 
Ice sheet for Lost tribeIce sheet has no growing season, forget about plants. Livestock is limited, you will be hunting anything you can eat regardless of it's taste.
Start
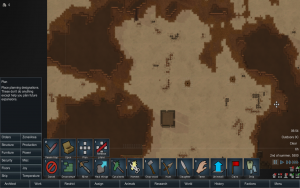
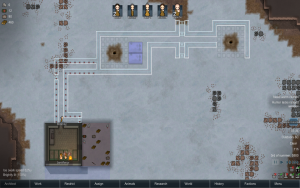
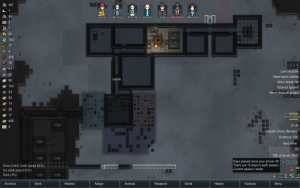
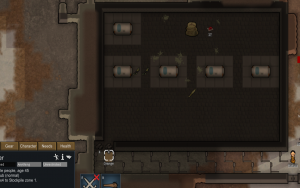
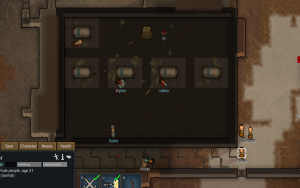
SaunaAfter you are done enclosing your ancient ruin and had built both benches. Your next job is to use the steam geyser as main home due to it's heat source. Living on top of a geyser provides warmth enough to 10 degree Celsius, just to escape hypothermia. If your colonists complain about "sleeping in the cold", you tell them to man-up. The only two reasons to build a campfire are: to cook and an emergency extra source of heat when hard snow hits during Winter or a cold snap. Build a wall around (10x10 , the geothermal power plant is 6x6 so between the wall and the steam, the 8x8 line will become a one tile surrounding corridor just enough to place beds around), either by emulating a heater in the center of your room or by pulling a one tile corridor towards your home, even possibly digging a tunnel depending on the terrain altitude map of choice. Eventually, you should ideally repeat the same geyser-room procedure with other steams in proximity, this is because cold and starvation will not kill you, but mental breaks will. For example, having more than two characters on berserk. Sometimes, two geysers may be close to each other, allowing you to use them at both ends while you build everything else in between. This lucky situation can allow to start building individual rooms for your people and get rid of the barrack penalties.
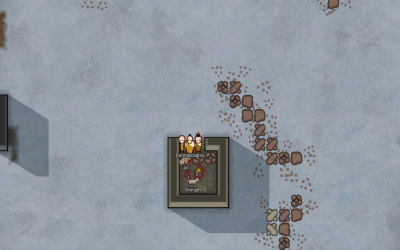
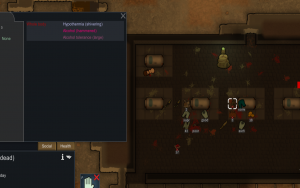
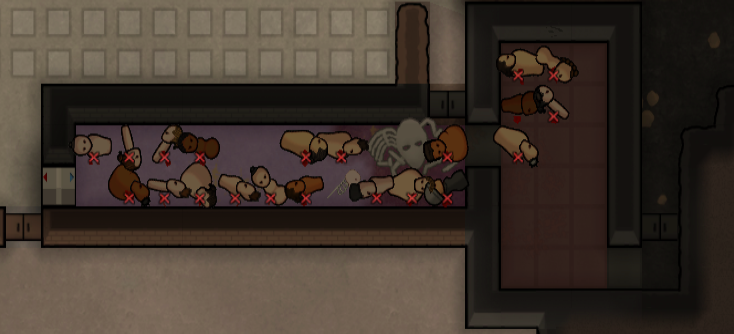
Survival in crypto sleep like the spacersYou will survive in this biome, by sending all to crypto sleep except for the researchers. Be very careful here as occupants cannot eject by themselves and sending them all together won't let you continue playing unless a wanderer joins. You MUST keep an "active" hauler outside to open and free the others.
Before sending everybody to crypto sleep
Caskets plus three formulaThere's really no need to murder your crew to reduce your roster numbers, instead, open the ancient structure. Let go of those who don't want to join if your original characters are too wounded by the time you are at this. Attempt capture if conditions are good. How many characters you should have depends on many variants. A suggestion would be the total number of available crypto sleep caskets + 3. Between those three, two of them must be researchers and the other one extra a pawn that can serve the researchers by hunting, butchering and cooking for them. Then in any remaining time he/she would remain idle, join the researchers. Which means building additional two benches. Those that you choose to have them "awake" must have the capacity to HAUL. Or you won't ever be able to bring back those who you sent to crypto sleep. There will always be variables that won't let any player fix a number of "active" characters at a time. If food is low, you can continue with just both researchers. Less than two, you won't finish electricity research in time. You can also bring everybody else back to activity when circumstances require more people, such as raids. Because of emergencies, it's best if you can send them to crypto sleep with their bellies full and in good mood. You don't want to have them back active with hunger and metal breaks when you need them as back-ups. You can also store prisoners from pirate bands whose recruitment chance is over 95% as it may take too long and you don't want to waste food on them, and try to convince them only after you start to grow crops.
Pick your dream teamWanderers welcomed, escape pods welcomed and refugees welcomed. Immediately after opening all the crypto sleep caskets, pause the game and run a full check on each surviving occupants. This is particularly important for those who play with the first five random characters given, without randomizing to cheesy convenience. Check the spacers and see who could become a valuable member of your main team based on what you originally lack. The rest will become food, but don't forget to strip them first so that you can use their clothes too. Otherwise, the "used by corpse" penalty will punish the wearer.
CannibalismIt's inevitable. Just be very selective when butchering other humans as the character performing the action will receive mood penalties that can easily set it to mental breaks. It is okay if your characters complain of hunger. Again, keep your food supply on check and only feed your people when starvation kicks in, unless of course, their mental break is too dangerous to risk keeping them unhappy. When butchering human corpses it's best to set one same character to chomp many at once so that all the penalty goes to just that one rather everybody, and performing the action on same day will keep the penalty length shorter than extended after each consecutive day. Best the penalty wears off all together at once. Your best cannibal chef will be either of the two pair who jus got married and is in honeymoon phase.
Technology sequenceAfter electricity, go for Batteries, Solar panels and then Stonecutting so that you can start building plantation-rooms. Sun lamps consume large amounts of electricity and you should by then have enough power and stored energy so that your crops grown steady. Solar generators will not perform to their maximum capacity due to the short solar cycles common in polar regions as oppose to equatorian regions.
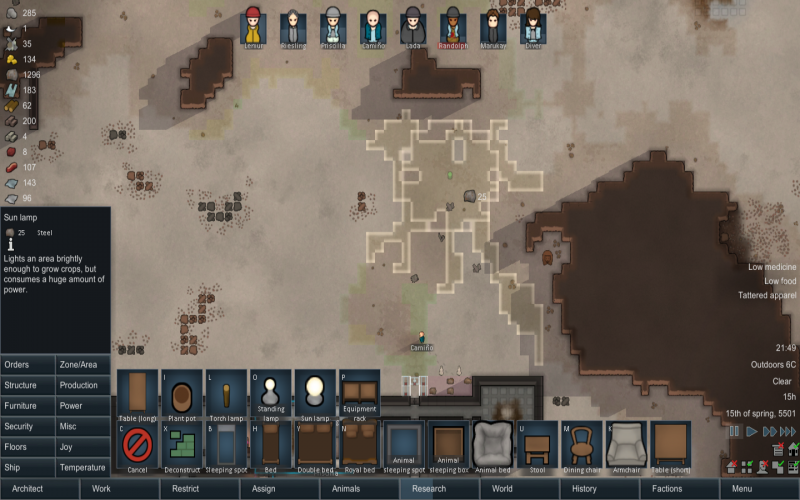
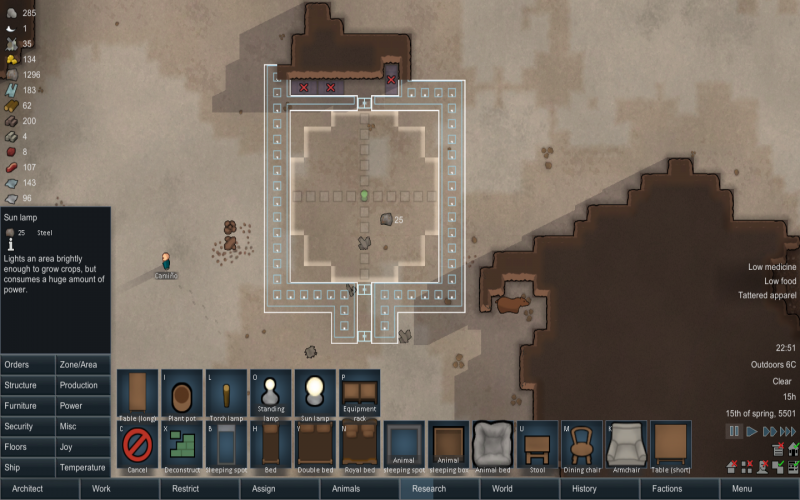
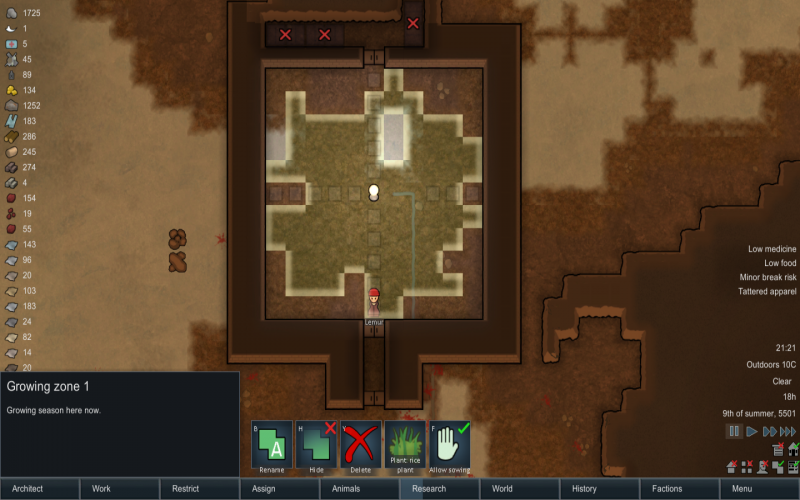
Plantation roomAfter you have researched Electricity, Batteries, Solar Panels and Stonecutting AND crafted lots of stone blocks is when you can start building your first plantation room. Since the biome has scarce fertile tiles, you can easily select to mark a Grow zone and just drag your cursor on a 50x50 tiles area so that the game automatically marks where there is a "large" concentration of farmable area. Then just select the Sun lamp so that you can have the radius on your cursor ready to match such area. If you happen to lack said farmable tiles anywhere close to your base, you can fill in the blanks with hydroponic basins later on.
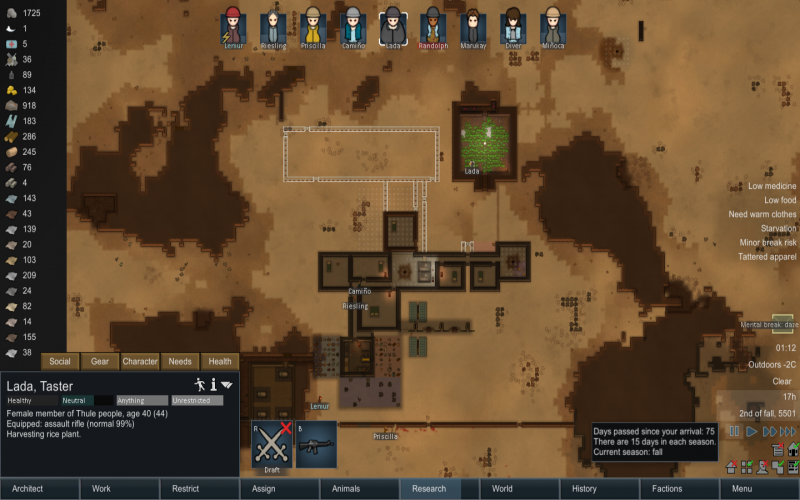
Extra contentThird yearMaximum capacity still restricted upon food limitations. Keeping some members on crypto sleep unless a party is announced, the mood bonus is cumulative. There has been no cannibalism since then but nonetheless keeping the extra meat. Solar flare can kill your crops so you still need to have wood stored to instantly build campfires to keep plantation rooms above -10 Celsius. Wild animal presence is rare compared to the beginning, even if leaving snow hares alive and feral, their predators hardly show up. Technological progress was crippled after losing a researcher, another one was recruited with 99% chance after a long convincing period. Wardrobe restriction of jackets, those who go hunting or mining will suffer hypothermia. Turtle march, slow but steady. While there is no need to build a large freezer, it is still necessary for summer and also because visitors with animals will eat your food (instead of theirs) if not stored in a closed area.
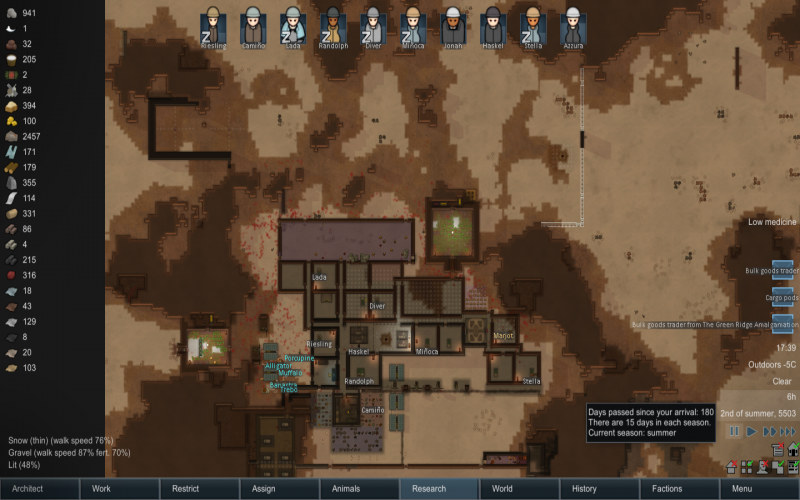
Fourth yearFood no longer an issue with cultivation switch from rice to potato. Loss of a cooker resolved by building a nutrient paste dispenser. By now, already extracting minerals for the spaceship with the ground-penetrating scanner. A 10 member ship will require:
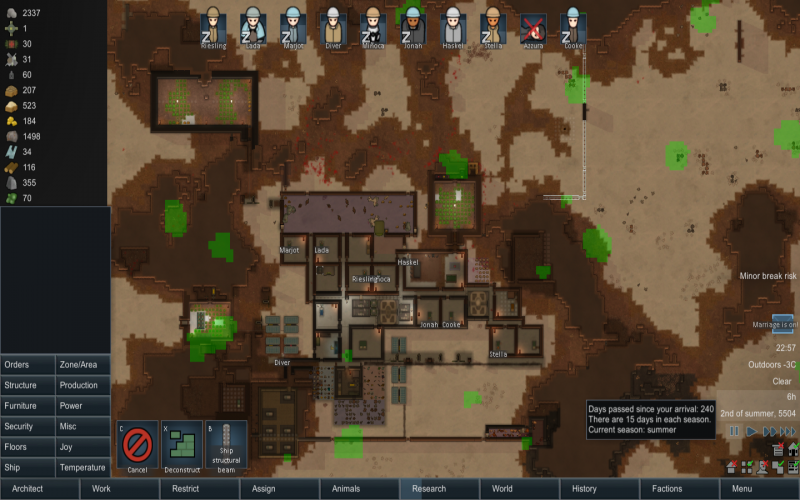
Fifth yearGame pitfall, there's nothing else to do. From all materials to end the game only Components cannot be dug up. If you are fed up waiting for traders, just launch and finished. If you want to send all your colonists to space, there are mainly three options:
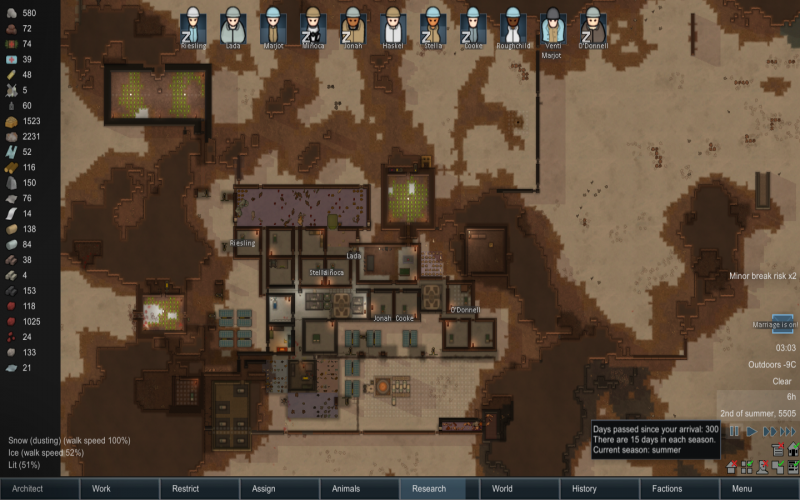
Attacking other FactionsViable only if within reasonable reach. Transport pods can make it possible but too much work for little benefit. If the desire is high, multiple settlements will be needed.
|
